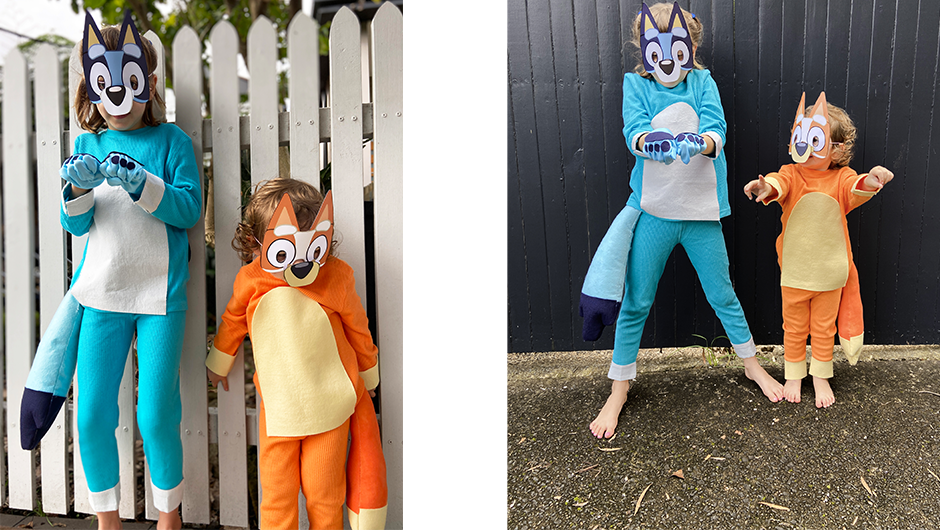
How to make a Bluey and Bingo costume
Let’s dress up like Bluey and Bingo! This is definitely an adult project as it involves sharp scissors and a hot iron but kids will love dressing up.
This costume requires minimal sewing and can be done with or without a sewing machine. The instructions for both characters are interchangeable apart from Bluey who has some additional dark blue spots on the back of her top. The instructions will show a mix of both costumes being made at the same time. Scroll down to get started.
You will need:
For Bingo:
- Orange long sleeve top and pants*
- 50cm of no sew iron on adhesive
- Light orange and dark orange felt (wool felt is best)
- White or orange gloves*
- 50cm of orange stretch jersey fabric or felt*
- Synthetic stuffing
- 1m of thick elastic
For Bluey:
- Blue long sleeve top and pants (we used plain pyjamas)*
- 50 cm of no sew iron on adhesive
- Light blue and dark blue felt
- White or blue gloves*
- 50 cm of blue stretch jersey fabric or felt*
- Synthetic stuffing
- 1m of thick elastic
*If you can’t find these in the colours you need. Just buy white or light grey and bucket dye them according to packet instructions.
How to make
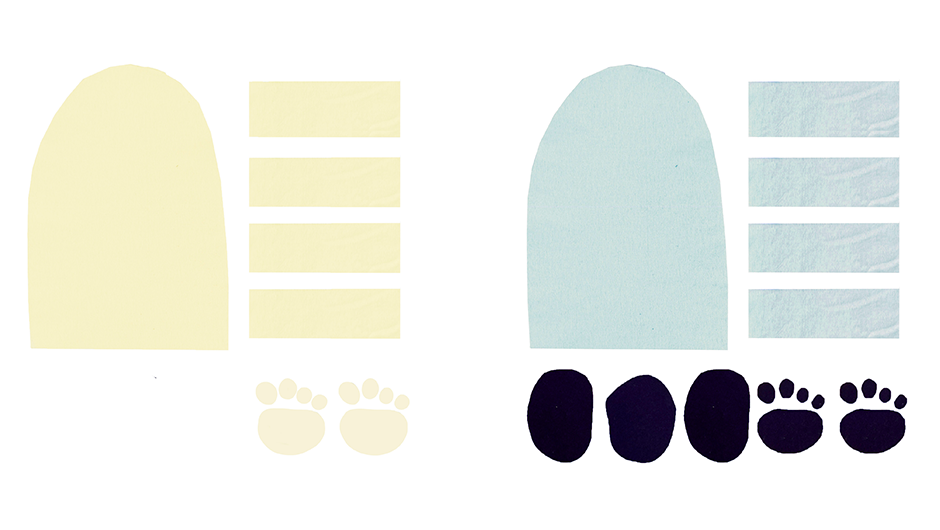
For the body, begin by cutting your felt into pieces. Keep some aside for the tail which we will make later. For each costume you will need:
- 4 strips approximately 5cm thick and 15-20 cm long
- 1x arch shape measured to fit the chest piece of your top.
- Three roundish spots approx. 6-8cm wide (for bluey only)
- 4 large and 8 small round shapes for the paws. Measured to the size of your gloves.
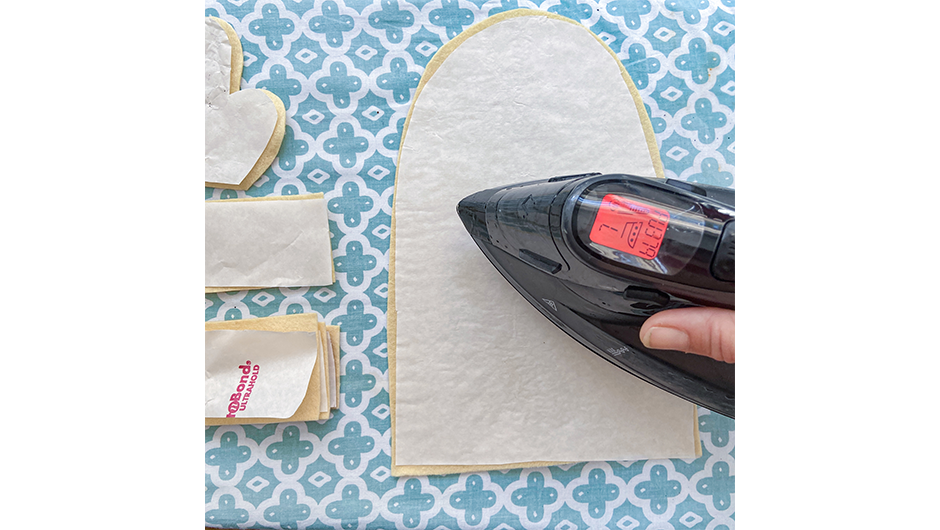
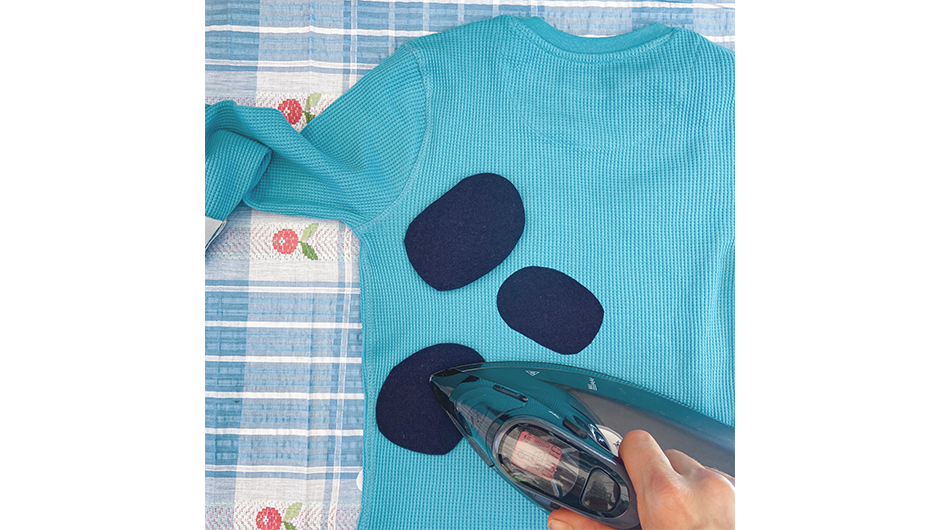
Cut the new sew adhesive to fit the felt shapes and place onto your felt right side down. The adhesive should have instructions but if not make sure the side touching the felt is slightly rougher than the side you will be ironing. Iron on a medium heat.
Peel off the adhesive backing and iron lay on to your clothing where you intend it to go. The arch for the chest, and the strips for the cuffs of the pants and top. Trim the cuffs if necessary. Iron well to bond the fabrics together.
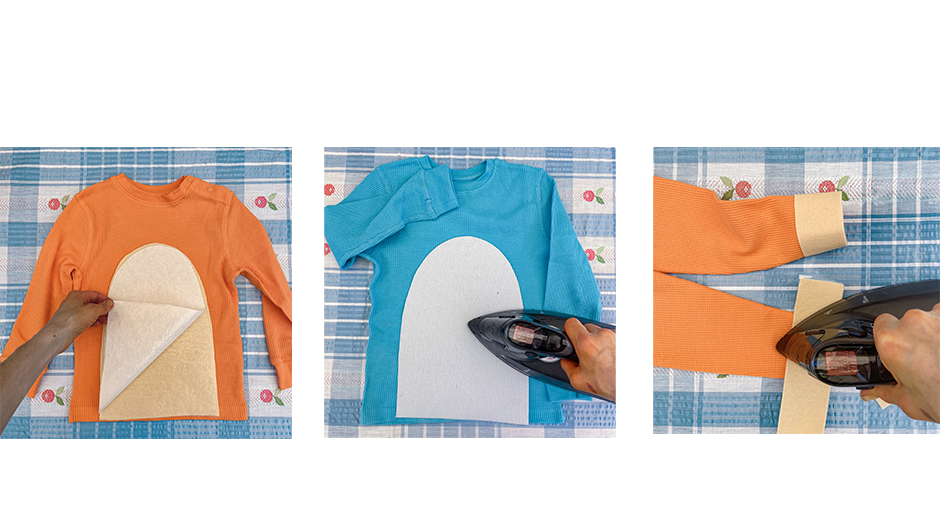
Add Bluey’s blue spots.
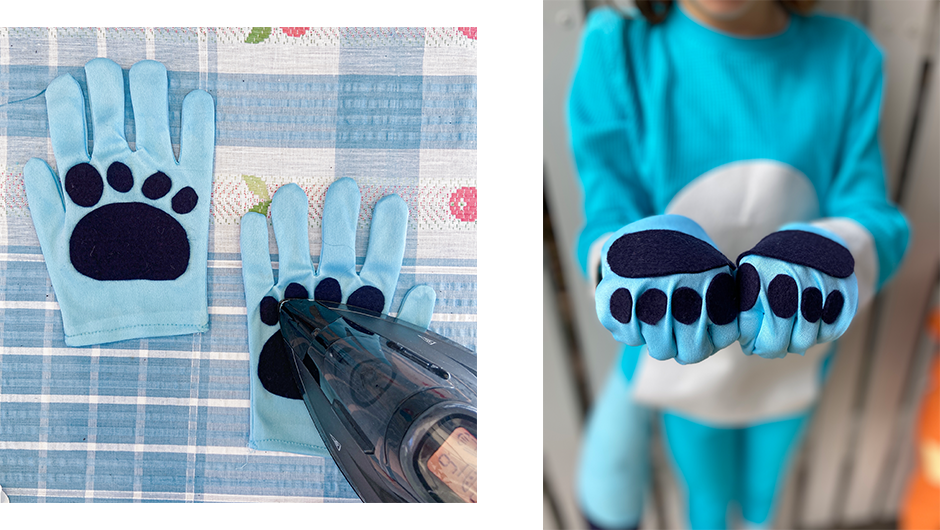
For the gloves, repeat the same process of ironing the adhesive to the felt shapes and then removing the backing and laying onto the gloves. Iron again to bond.
For the tail, measure the length from your child’s waist to under their knees. Fold your tail fabric in half and mark out a tail shape as shown below. Leave some extra length at the top and around width at the sides for sewing. Cut out and lay the two pieces flat.
Lay the felt over each end of the tail and bond with the no sew adhesive as described in the method above.
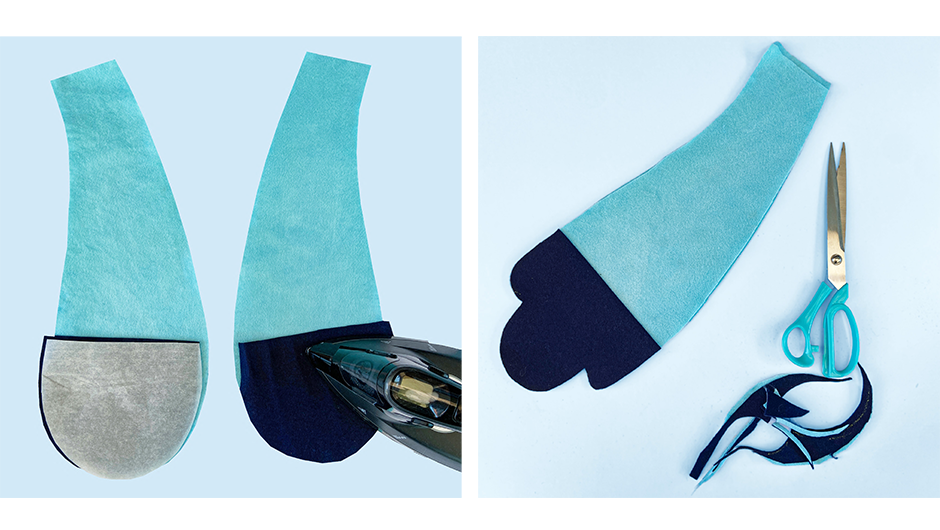
Bring the two pieces together and trim the end of the tail into shape. Separate the two pieces and lay together inside out. Use a sewing machine or hand sew the edges of the tail leaving a small overhang. Leave about 5 cm open at one end.
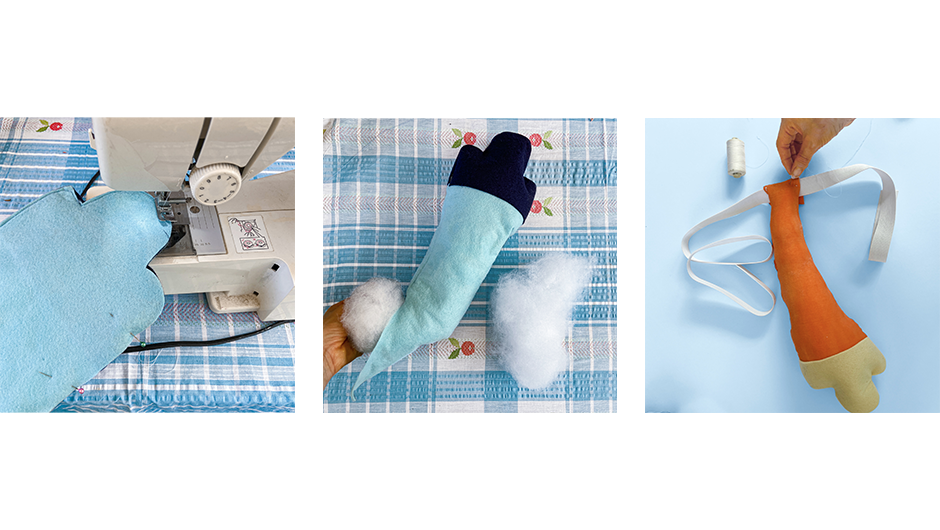
Turn right side out and fill with stuffing then hand or machine sew the tail closed. Measure a piece of elastic to fit your child’s waist and fold the end of the tail over. Hand or machine sew to secure.
To complete the look print out and make the Bluey and Bingo face masks.
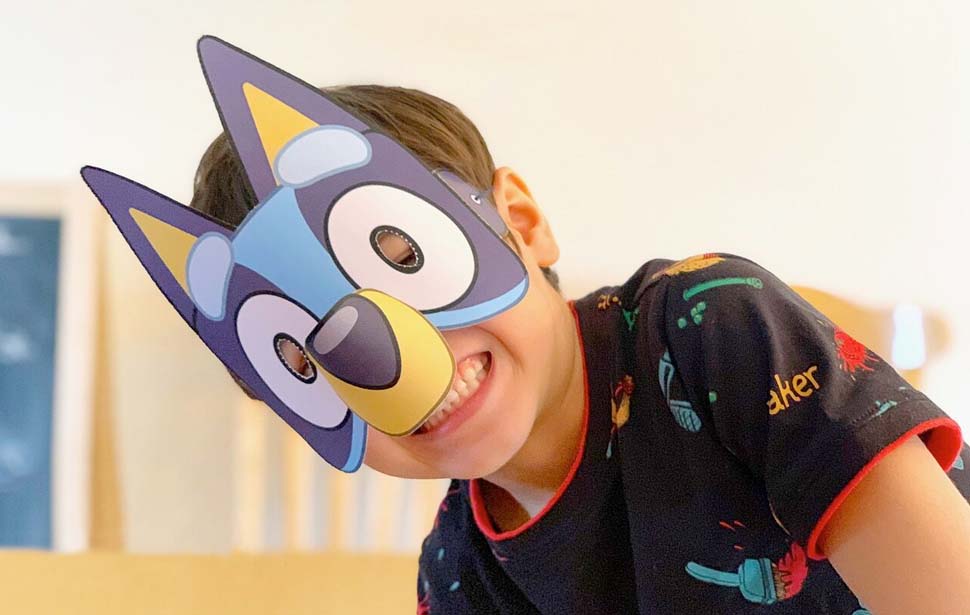
Woo Hoo! Now dress up and play!