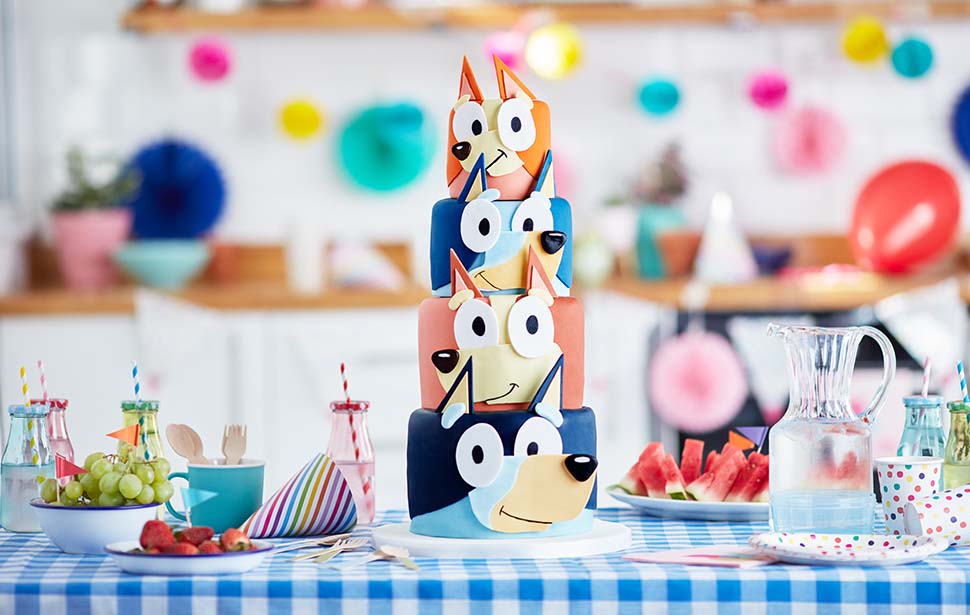
How to make a Bluey Celebration Cake
Bluey baking challenge
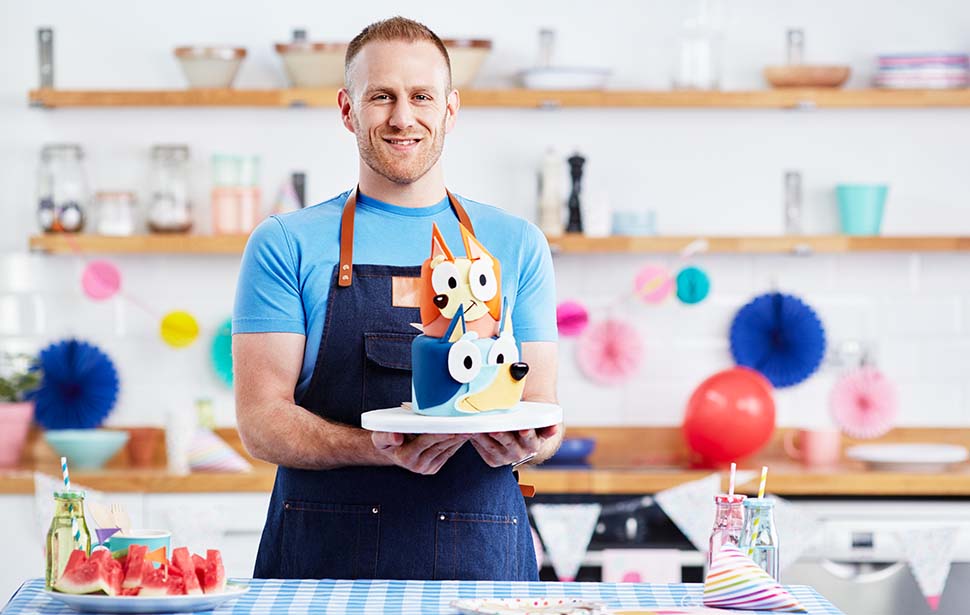
Think you’ve got what it takes to recreate this amazing stacked Bluey celebration cake? Creator Steven Carter-Bailey explains how to do it. Good luck!
Chocolate cake
Ingredients:
- 265g self-raising flour
- 1 ½ tsp baking powder
- ¼ tsp salt
- 300g caster sugar
- 150g light brown sugar
- 250g unsalted butter
- 2 tsp vanilla bean paste
- 75g cocoa powder
- 175ml hot water
- 100g yogurt
- 5 large eggs
For the frosting:
- 250g unsalted butter
- 300g icing sugar
- 100g dark chocolate – melted and cooled
Note: Make sure a grown up helps with small pieces, preparation and baking.
Instructions:
This makes a large celebration cake that will steal any show.
Grease and line the bottom and sides of 3 8” cake tins (you can use 2, but the cooking time will change). Preheat the oven to 180 C fan.
Make a paste using the cocoa and hot water. Once cooled slightly, stir through the butter, yogurt and vanilla. Once completely cooled, stir through the eggs, until the mixture has completely combined.
In a large bowl, combined all the dry ingredients and make a well in the centre. Pour the wet mix into the well and use a whisk or a spatula to mix everything together thoroughly, ensuring there are no lumps.
Split the mix equally between your tins and bake in the centre of the oven for 25-30 mins for 3 tins, or 30-35 mins for 2 tins.
Leave the cakes in their tins for 10 minutes, before carefully transferring them to a rack to cool completely.
In a stand mixer, or using an electric hand whisk, cream the butter and icing sugar together until pale and fluffy. Stir in the melted chocolate and cover until needed.
Use a large palette knife to cover the cooled cake in the frosting. Smooth the frosting using the palette knife and then refrigerate the cake for 10-15 minutes.
Once cooled slightly, your cake is ready to cover in fondant.
Put a small dab of the frosting into the centre of a cake drum and place your first sponge in the centre (this will help to keep your cake stable).
Using a palette knife, spread some of the frosting over the top of the first sponge, gently pushing it to the edges (you can add and remove frosting as you need it). Level the frosting using the palette knife and place the second sponge on top – if your sponges have domed tops, then you can trim these down using a bread knife.
If your sponges are sliding a little bit, then pop them in the fridge for 10-15 minutes at a time to set the frosting.
Once you have stacked your sponges then continue to cover the cake with the frosting, using the palette knife. Smooth over the surface of the cake with the knife (dipped in hot water for an extra smooth finish) and refrigerate for 30 minutes.
Roll out your base colour of fondant to around 3-4mm, ensuring there are no lumps or air bubbles (use a pin to remove these).
Remove your cake from the fridge and dampen the surface of the cake with water, using a pastry brush. Roll your fondant onto the rolling pin and gently roll it over the top of the cake, ensuring there is plenty of excess on either side.
Use a smoothing tool to smooth the top and sides of the cake, trimming off the excess from around the bottom.
Depending on the character you decide to make, you may need to add some colour patches to the cake. Roll out the corresponding colour fondant to around 3-4mm, cut out your shapes and stick them to the cake using water and a small paintbrush.
To make the snouts, ears and eyes, it’s recommended that you make these on a flat surface (like a non-stick baking tray) and allow them to dry overnight before sticking them to the cake. Keep the fondant a little thinner and use the templates to cut out the shapes.
For the finishing touches of black dots for the eyes, noses and smiles, you can use small amounts of black fondant or paint on black food colouring.
Remember to share your Bluey cakes.
cake templates
Download all the cake templates to chose from — Bandit, Chilli, Bluey and Bingo.